Converting JPEG and PNG images into embroidery files is an essential step for anyone looking to turn their artwork into stitched designs. Whether you’re a business owner, a hobbyist, or simply someone looking to create custom embroidery projects, understanding how to convert image to embroidery file is crucial. In this guide, we’ll dive deep into the process of converting images, the tools you need, and essential tips to ensure you get high-quality results every time.
What is an Embroidery File?
Understanding Embroidery File Formats
Embroidery files are not the same as regular image files like JPEGs or PNGs. While image files store pixel-based data, embroidery files contain specific instructions for embroidery machines on how to stitch a design onto fabric. These instructions include information on stitch type, direction, color, and sequence. Popular embroidery file formats include DST, PES, JEF, and EXP, each compatible with different brands of embroidery machines.
Why You Need to Convert Image Files
When you start with a JPEG or PNG image, it’s just a flat, two-dimensional picture. Embroidery machines can’t directly interpret these files, so you need to convert them into stitch files using embroidery digitizing software. This conversion process transforms the image into a format that the embroidery machine can read, ensuring every line, curve, and color is stitched correctly.
Common Challenges in Conversion
Converting an image to an embroidery file isn’t as simple as just pressing a button. The process can be challenging due to image quality, complexity, and the need to simplify certain details that won’t translate well into thread. Understanding the limitations of embroidery and how to adjust your designs for the best outcome is crucial.
Choosing the Right Software for Image Conversion
Popular Embroidery Digitizing Software
The first step in converting JPEG and PNG images into embroidery files is selecting the right software. There are several popular options available that cater to different levels of expertise:
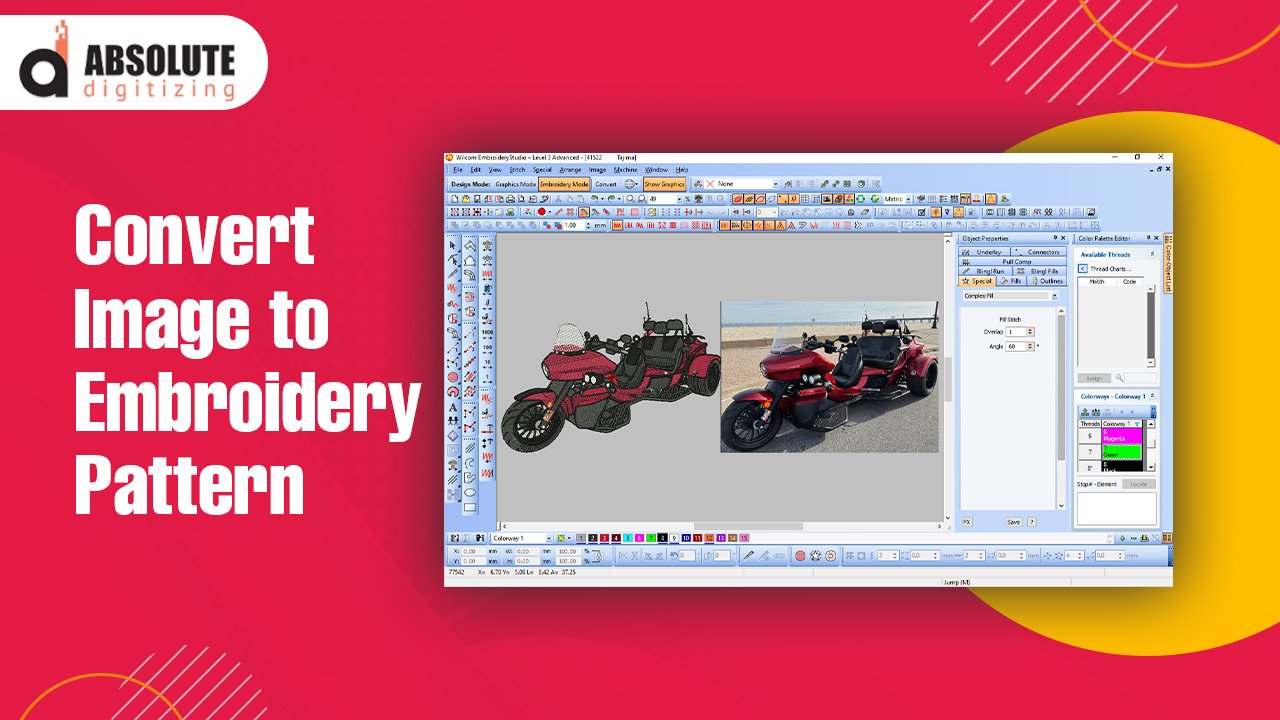
- Wilcom: Known for its professional features, Wilcom is a powerful tool used by many industry professionals. It allows for precise control over stitch types and density.
- Hatch Embroidery Software: Hatch is a user-friendly option with features designed for beginners and intermediate users. It offers tools for auto-digitizing, making it easier to convert images.
- Brother’s PE-Design: This software is great for Brother machine users and offers a wide range of editing and digitizing features.
Features to Look For
When selecting a digitizing software, consider the features that are most important for your needs. Look for software that offers automatic digitizing, manual editing options, stitch simulation, and support for various embroidery file formats. Additionally, tools like stitch length control, color palette management, and stitch sequencing can help improve the final outcome of your design.
Free vs. Paid Software Options
While there are paid software options that offer extensive tools and features, there are also free programs available for beginners. Software like Ink/Stitch, a plugin for Inkscape, allows you to digitize simple designs without a large investment. However, keep in mind that free software may not offer the same level of detail or control as professional-grade programs.
Preparing Your Image for Conversion
Simplifying the Design
Before converting an image to an embroidery file, it’s important to simplify the design. Embroidery machines have limitations when it comes to extremely fine details, so designs with too many small elements, gradients, or fine lines may not stitch well. Simplify the image by focusing on bold shapes and distinct lines. This helps ensure the machine can interpret and stitch the design accurately.
Choosing the Right Image Format
When selecting an image to convert, JPEG and PNG files are the most common formats used. PNGs are particularly useful because they support transparent backgrounds, which can make it easier to work with designs. High-resolution images will give you a clearer and more accurate digitization result. Always start with the highest quality image possible to avoid losing important details during the conversion.
Resizing and Adjusting the Image
The size of the image will directly affect how it translates to stitches. Resize your image to match the size you want the final embroidery to be. Keep in mind that resizing after digitizing can lead to distortion in stitch density and quality. Adjust the size and any colors or elements in the design before starting the digitizing process.
The Process of Converting JPEG and PNG to Embroidery Files
Step 1: Import the Image into the Software
Once you’ve chosen your digitizing software and prepared your image, the next step is to import the JPEG or PNG into the software. Most programs have an easy import function that allows you to upload the image and start editing immediately.
Step 2: Auto-Digitizing vs. Manual Digitizing
Many software programs offer an auto-digitizing feature that automatically converts your image into an embroidery file. While this can be useful for simple designs, it often doesn’t provide the precision needed for more complex images. Manual digitizing allows you to control every aspect of the design, including stitch direction, type, and density. For best results, it’s recommended to use a combination of both methods—starting with auto-digitizing and then manually refining the design.
Step 3: Adjusting Stitch Types and Directions
After the initial digitization, you’ll need to adjust the stitch types and directions to suit the design. Fill stitches are typically used for large areas, while satin stitches work well for borders and text. Running stitches are ideal for outlines or thin lines. Adjusting the direction of the stitches helps create a smoother, more professional finish.
Fine-Tuning Your Embroidery Design
Stitch Density and Length
Stitch density refers to how close together the stitches are placed. Too high a density can lead to thread breakage, while too low a density may result in a sparse design. The right balance will depend on the type of fabric you’re working with. Denser fabrics like denim can handle higher stitch densities, while lighter fabrics like silk require fewer stitches.
Color Choices and Thread Types
When converting an image to an embroidery file, the software will automatically assign thread colors based on the image. However, you may need to adjust the color selections to match the actual thread you’ll be using. It’s also important to consider the type of thread—metallic threads, for example, require different stitch lengths than regular polyester threads.
Testing the Design
Before finalizing your design, it’s a good idea to run a test stitch on a sample fabric. This allows you to check for any issues like thread breakage, uneven stitching, or misaligned details. Testing ensures that your design will look perfect when embroidered on the final product.
Troubleshooting Common Issues
Issues with Stitch Quality
If you notice that the stitches in your design are uneven or that details are getting lost, it could be due to incorrect stitch density or length. Experiment with different settings to find the best balance for your fabric and design.
Image Quality Problems
Low-resolution images can cause pixelation or jagged edges in your embroidery design. Always start with a high-resolution image to ensure smooth lines and clean edges. If needed, use image editing software to clean up any rough areas before digitizing.
Thread Breakage and Machine Jamming
Thread breakage or machine jamming can occur if the design has too many dense areas or long stitches. Reducing stitch density or breaking up large blocks of stitches can help prevent these issues.
Conclusion: Mastering Image Conversion for Embroidery
Converting JPEG and PNG images to embroidery files is an essential skill for anyone interested in custom embroidery. By choosing the right software, preparing your image, and adjusting the design with care, you can create stunning embroidered pieces that bring your artwork to life. With the right tools and techniques, even the most complex images can be translated into beautiful stitch files ready for any embroidery machine. Practice, patience, and attention to detail will ensure that your conversions are always of the highest quality.