Printing Custom Door Hangers Near Me at Home is an affordable and effective way to create personalized marketing materials. You can save money and tailor the design to fit your specific needs. Additionally, home printing allows for greater flexibility and immediate results. Thus, this guide will walk you through the steps to print door hangers at home, ensuring that your final product looks professional and meets your advertising goals.
Materials Needed
Before starting the printing process, gather all necessary materials. First, you will need high-quality cardstock or thick paper suitable for printing. Next, your printer can handle the size of the door hangers. Additionally, have graphic design software or online templates ready to create your design. Finally, prepare scissors or a paper cutter for precise cutting, and a hole punch for making the hanging loop.
Key Materials:
- Cardstock or thick paper
- Printer
- Graphic design software or templates
- Scissors or paper cutter
- Hole punch
Step 1: Designing the Door Hangers
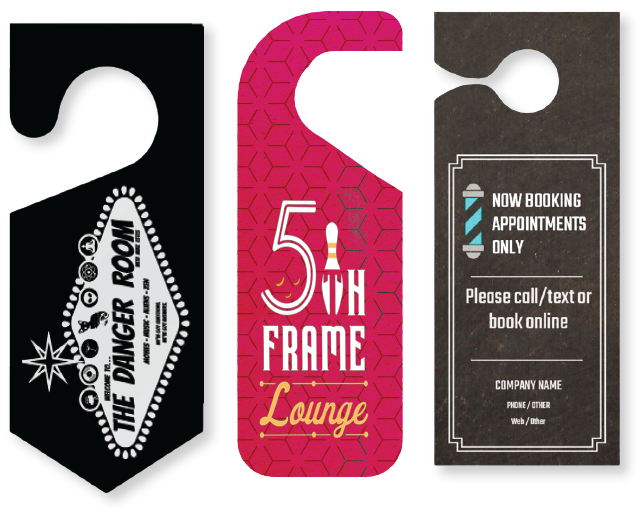
First, select a template that matches your desired size or create a custom layout. Next, add essential information such as your business name, contact details, and a clear message. Moreover, use bold colors and readable fonts to attract attention. Thus, a well-designed door hanger will effectively convey your message.
For instance, if promoting a local event, include engaging graphics and a strong call to action. Additionally, ensure that the design aligns with your branding to maintain consistency. Moreover, if using online templates, customize them to reflect your specific requirements. Thus, a tailored design will enhance the effectiveness of your door hangers.
Step 2: Preparing the Printer
Once your design is ready, it’s time to set up your printer. First, load your printer with cardstock or thick paper. Next, configure the print settings to ensure high-quality output. Thus, setting up the printer correctly will help you achieve professional-looking results.
For example, adjust your printer settings to match the thickness of the cardstock for best results. Moreover, select a high-resolution print option to ensure that colors and details are sharp. Additionally, run a test print on regular paper to check for alignment and color accuracy. Thus, proper printer preparation will contribute to the quality of your final product.
Step 3: Printing the Door Hangers
With your printer set up, proceed to print the door hangers. First, send the design file to the printer and monitor the printing process. Next, allow each door hanger to dry completely before handling to avoid smudging. Moreover, print a few extra copies to account for errors or imperfections. Thus, careful printing will ensure door hangers are professional and ready for distribution.
For instance, print a test page first to check for color accuracy and alignment. Additionally, if printing in bulk, ensure the paper is loaded correctly to avoid jams. Thus, meticulous printing will help you produce high-quality door hangers.
Step 4: Cutting the Door Hangers
After printing, cut the door hangers to the correct size. First, use a paper cutter or scissors to cut along the edges. Next, follow the cut lines carefully to ensure uniformity. Thus, precise cutting will contribute to a polished and professional finish.
For example, if your door hangers are 4×8 inches, measure and cut each piece according to it. Moreover, use a ruler to guide your cuts for better accuracy. Additionally, if using a paper cutter, adjust it to the correct size to avoid errors. Thus, accurate cutting will ensure that each door hanger meets your specifications.
Step 5: Punching the Holes
Next, create holes for hanging the door hangers. First, use a hole punch to make a hole at the top of each door hanger. Next, ensure the hole is centered and appropriately sized for the hanging loop. Moreover, you can use grommets for a more durable finish. Thus, properly punched holes will allow for easy hanging and distribution.
For instance, position the hole punch about an inch from the top edge to create a standard look. Moreover, if using grommets, insert them following the manufacturer’s instructions. Test a few door hangers to ensure the hole size and placement are correct. Thus, accurate hole punching will enhance the functionality of your door hangers.
Step 6: Distributing the Custom Door Hangers Near Me
Finally, distribute your door hangers to reach your target audience. First, plan your distribution strategy to target high-traffic areas or neighborhoods. Next, consider distributing them door-to-door or leaving them in public places like community centers. Additionally, track your distribution to evaluate its effectiveness and make necessary adjustments. Thus, thoughtful distribution will maximize the impact of your advertising efforts.
For example, if promoting a special offer, distribute door hangers in areas your target market frequently visits. Moreover, you can collaborate with local businesses or community groups to expand your reach. Additionally, the results and gather feedback to improve future campaigns. Thus, effective distribution will help you achieve better results from your marketing efforts.
Conclusion
In conclusion, printing custom door hangers near me at home is a practical and cost-effective way to create personalized marketing materials. Additionally, with strategic distribution, you can effectively reach your target audience. Thus, investing time and effort into creating and distributing door hangers will enhance your promotional efforts. Ultimately, partnering with Packaging Solutions Canada can further improve the presentation and effectiveness of your marketing materials.